Configuring HTTPS with SSL Certificate
Follow these steps to use an SSL certificate for secure browsing (HTTPS) in a standalone CLIMS setup.
Enabling SSL in IIS
-
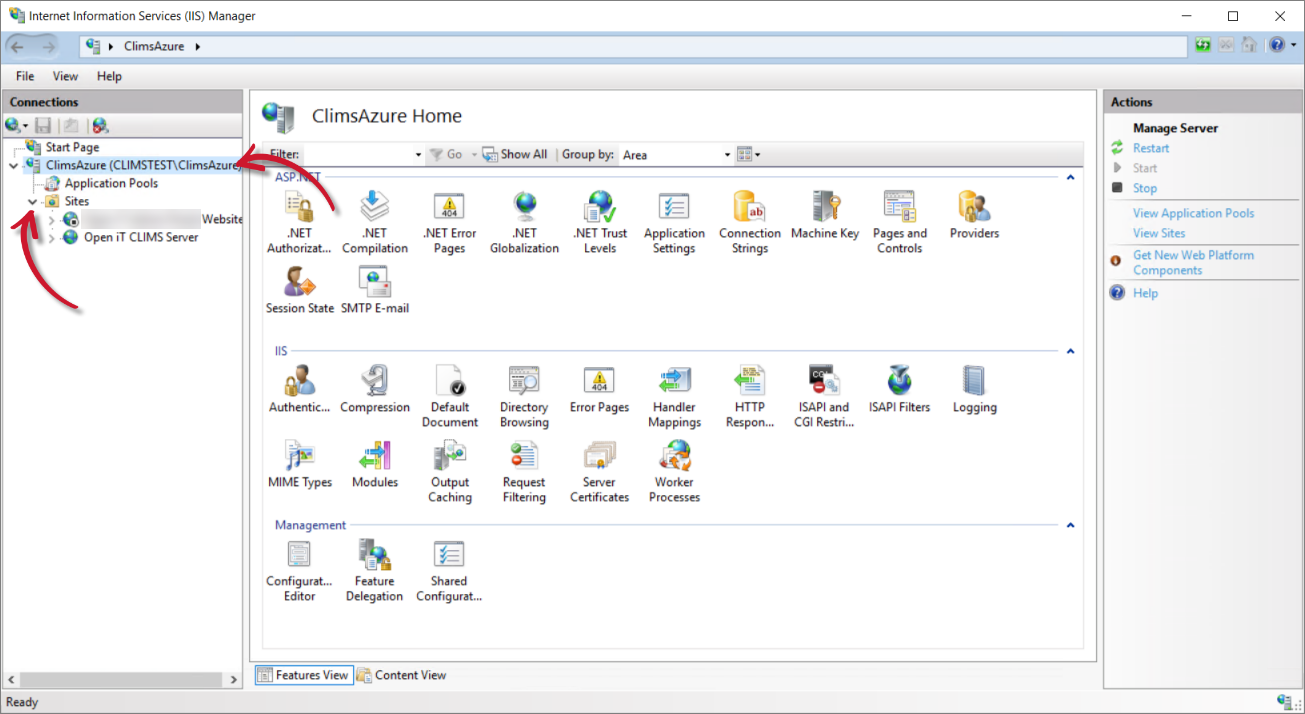
Open the Internet Information Services (IIS) Manager.
-
Under the Connections pane, expand the root node and Sites.
 IIS: Home
-
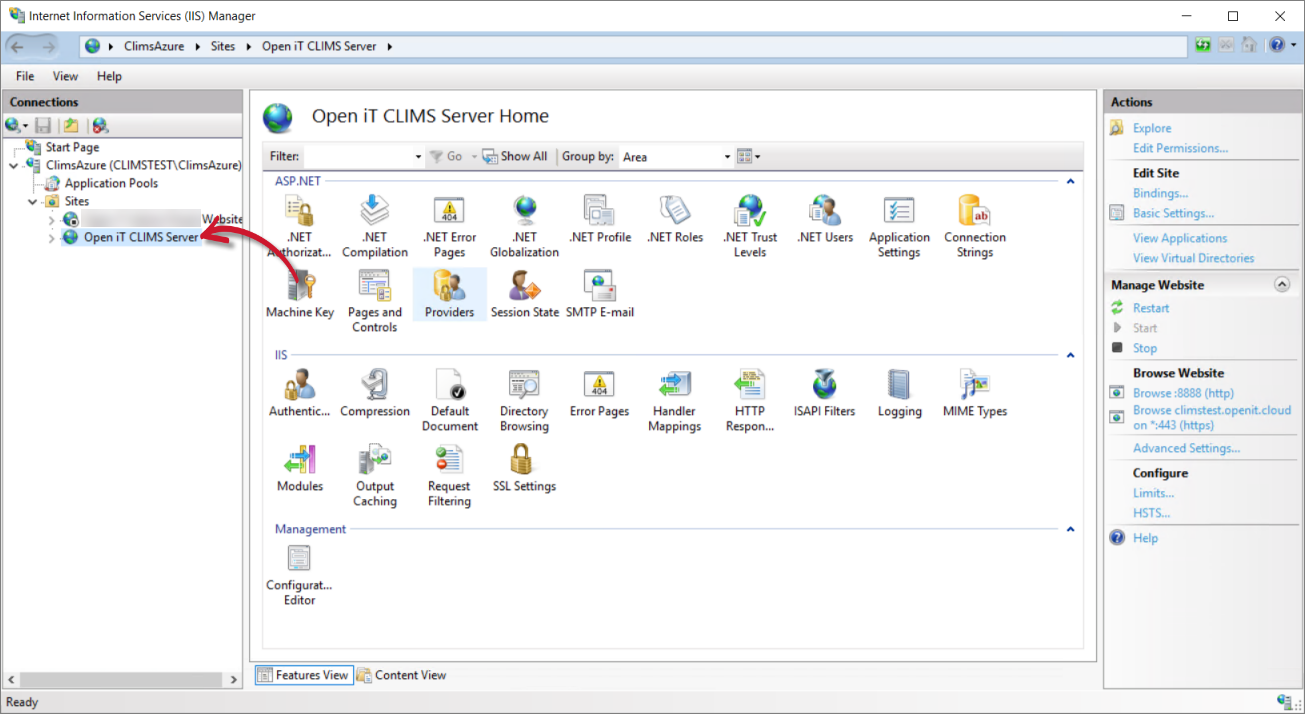
Click Open iT CLIMS Server.
 IIS: Open iT CLIMS Server
-
Under the Actions pane, in Edit Site, select Bindings....
 IIS: Edit Site
-
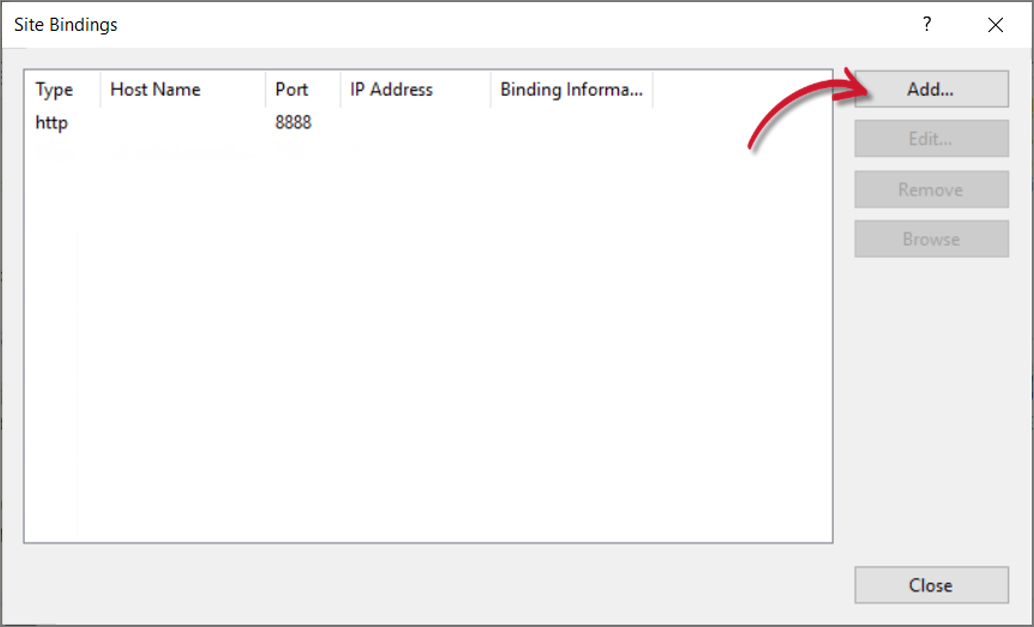
In the Site Bindings dialog box, click Add.
 IIS: Site Bindings
-
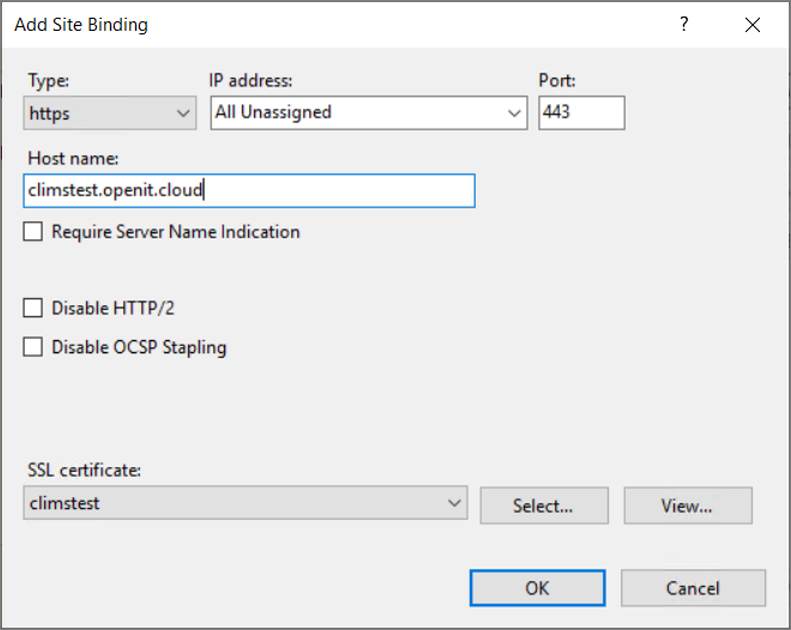
In the Add Site Binding dialog box:
- In Type, select https.
- In Host name, type in the preferred hostname.
- In SSL certificate, select the appropriate certificate.
- Specify other details as needed.
- Click OK.
 IIS: Add Site Binding
-
Click Close.
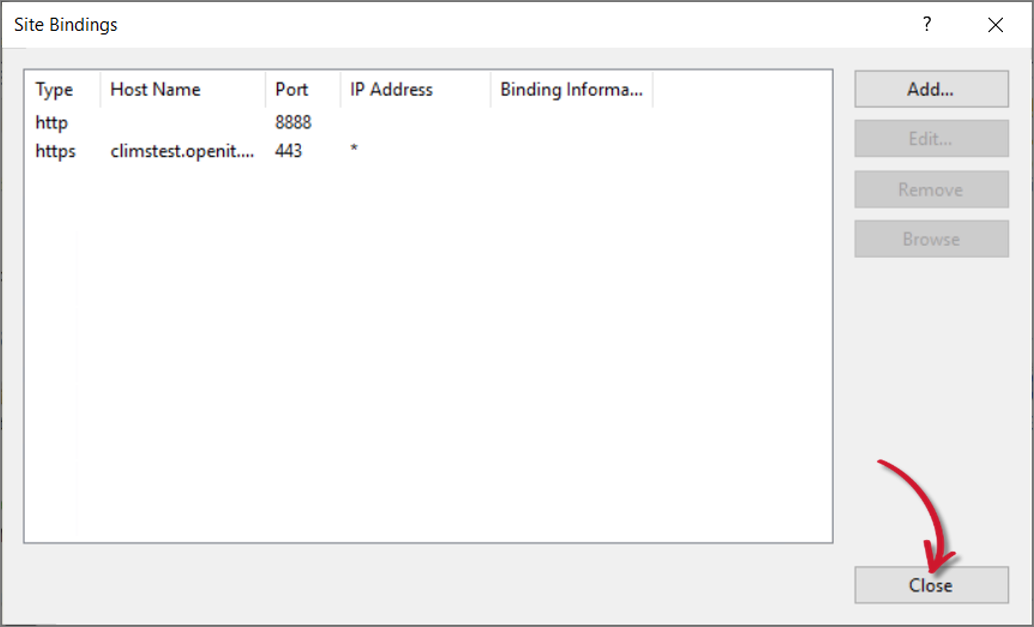 IIS: Updated Site Bindings
Check the Microsoft documentation on How to Set Up SSL on IIS for more information.
Updating the Configuration Files
-
Go to the Auth folder, which is
C:\Program Files\OpeniT\Zero\Authby default. -
Create a copy of
appsettings.jsonand rename the duplicate file toappsettings.Override.json.tipOverride files are used to store custom or environment-specific configuration changes separately from the default configuration. This approach helps preserve the original settings, simplifies upgrades, and ensures that custom modifications are not accidentally overwritten.
Open the existing
appsettings.Override.json, if there is already one. -
In the override file, change the
BaseUrito the registered website URL (e.g.,https://climstest.openit.cloud).appsettings.Override.json],
"BaseUri": "https://climstest.openit.cloud", -
Save the file.
-
Go to the Configuration folder, which is
C:\Program Files\OpeniT\Zero\Configurationby default. -
Create a copy of
Authentication.jsonand rename the duplicate file toAuthentication.Override.json.tipOverride files are used to store custom or environment-specific configuration changes separately from the default configuration. This approach helps preserve the original settings, simplifies upgrades, and ensures that custom modifications are not accidentally overwritten.
Open the existing
Authentication.Override.json, if there is already one. -
In the override file, change the URL values of
Authority,RedirectUrl, andSilentRedirectUrlto the registered website URL (e.g.,https://climstest.openit.cloud).Make sure to add
/Authafter the Authority URL and/signin-oidcafter the RedirectUrl and SilentRedirectUrl.Authentication.Override.json{
"AuthenticationMethod": "Oidc",
"Oidc": {
"Authority": "https://climstest.openit.cloud/Auth",
...
"RedirectUrl": "https://climstest.openit.cloud/signin-oidc",
"SilentRedirectUrl": "https://climstest.openit.cloud/signin-oidc", -
Save the file.