Add Azure Active Directory Claims
Follow these instructions to add claims for other Azure Active Directory types:
-
Go to the Microsoft Azure Website.
-
Click Sign in on the upper-right corner of the page.
If you are currently logged in to your Microsoft account, it will use that account to authenticate.
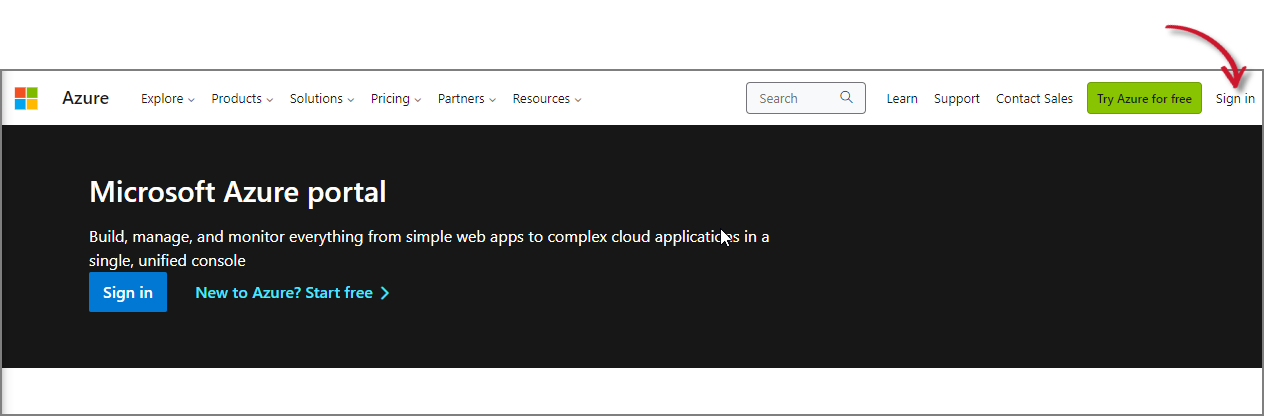 Microsoft Azure Website
This will redirect to the Microsoft Azure Portal.
-
Search for then go to the Microsoft Entra ID page. This will show the default tenant configured.
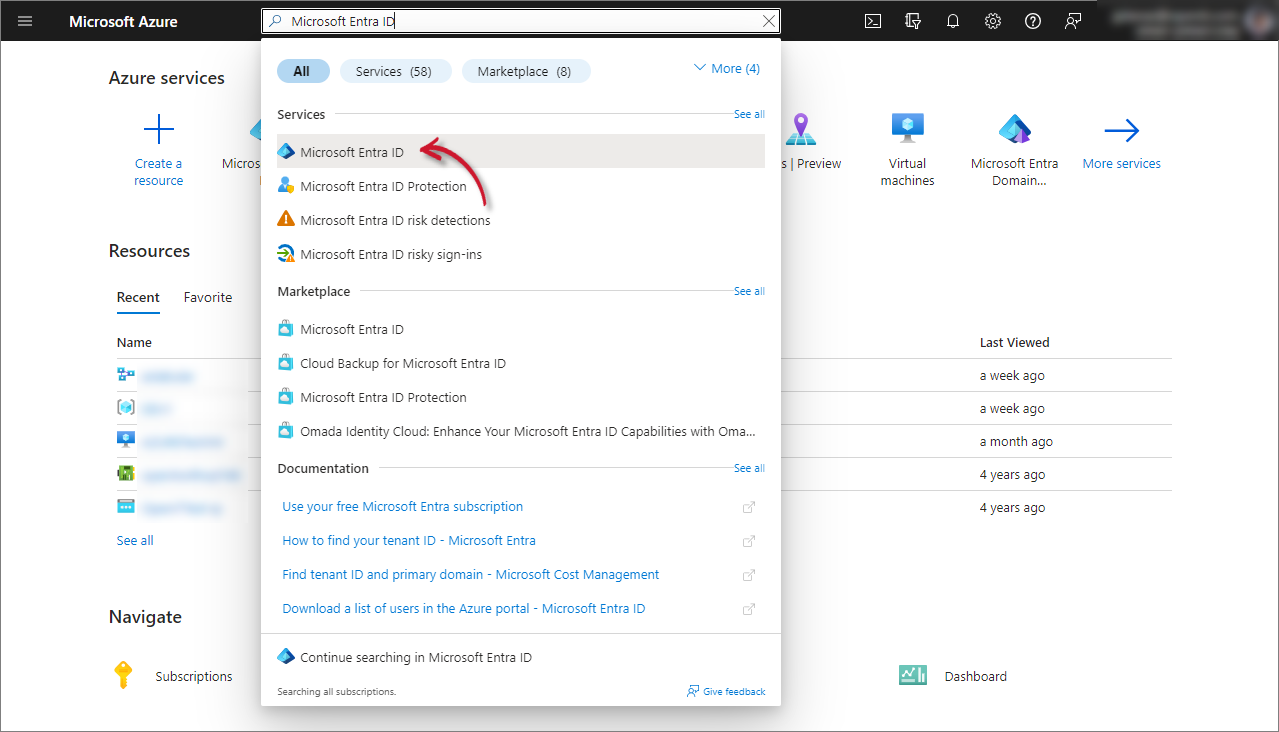 Microsoft Entra ID
-
In the Manage pane, click App registrations.
-
Click the Owned Applications tab.
-
Click the Analysis Server you have registered.
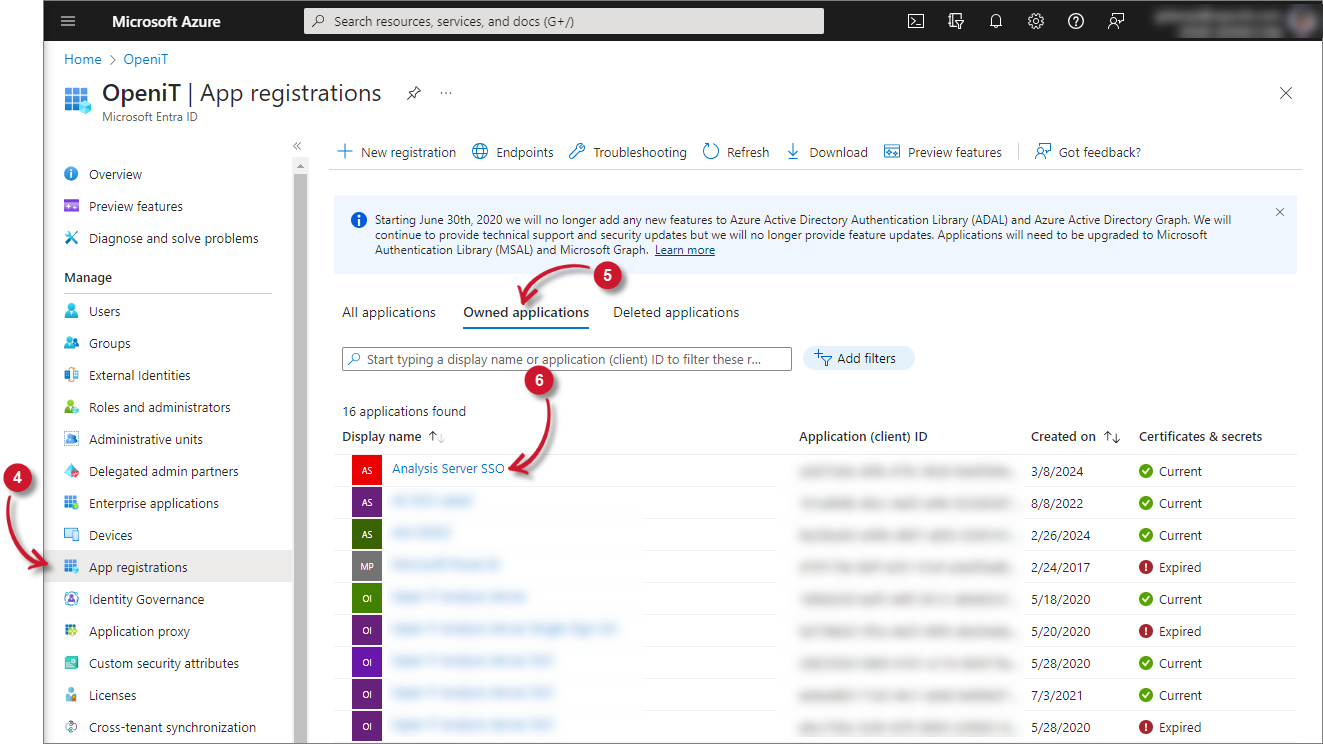 Owned Applications
-
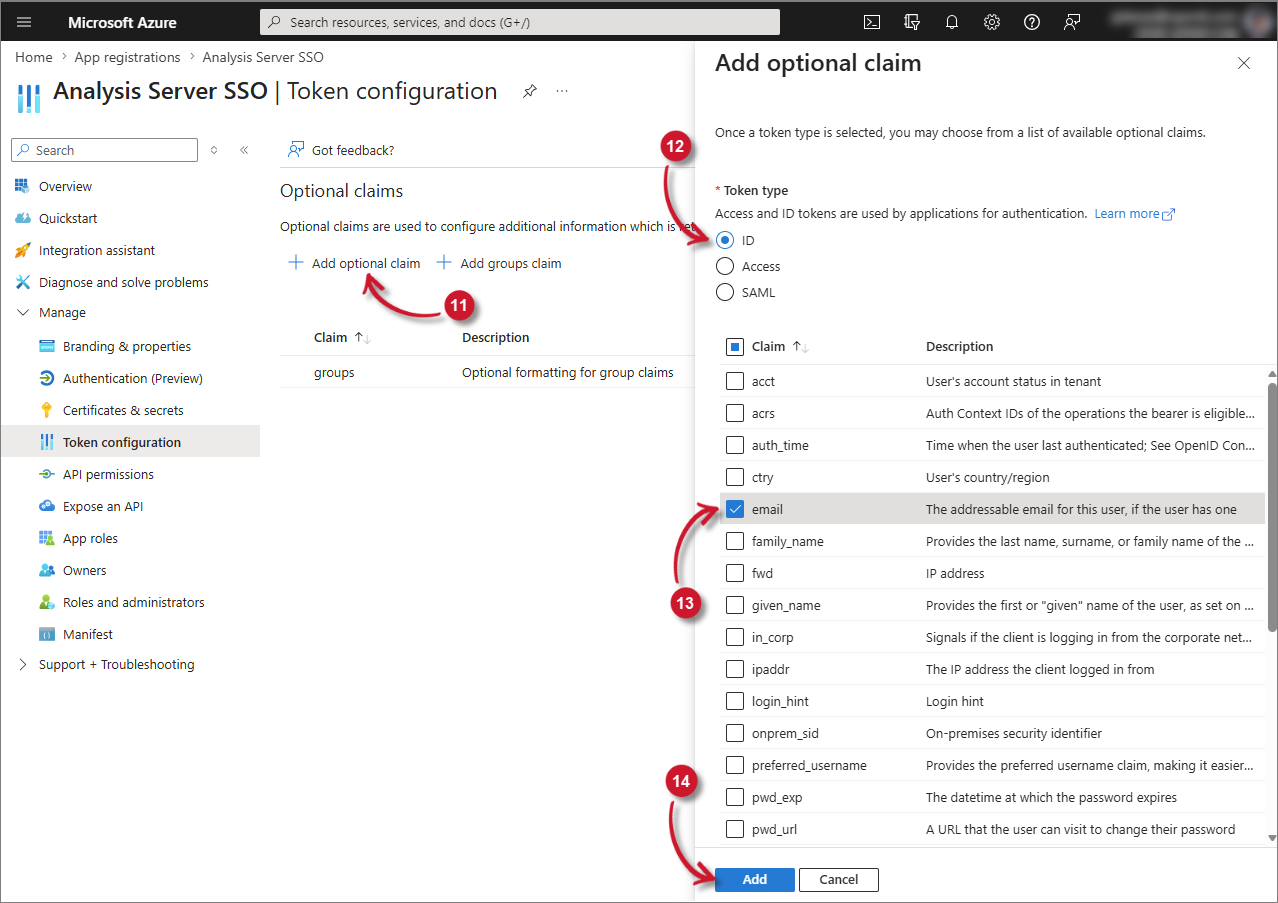
In the Manage pane, click Token configuration.
-
Click Add group claims. The Edit groups claim panel will appear.
-
Select All groups (includes 3 group types: security groups, directory roles, and distribution lists).
-
Click Save.

-
Click Add optional claim. The Add optional claim panel will appear.
-
Select ID as token type.
-
Select the email claim.
-
Click Add.
 Add Email Claim
noteWhen adding the email optional claim, Azure requires Microsoft Graph permissions to be enabled. Check the box for “Turn on the Microsoft Graph email permission (required for claims to appear in token)” in the dialog, then click Add when prompted.
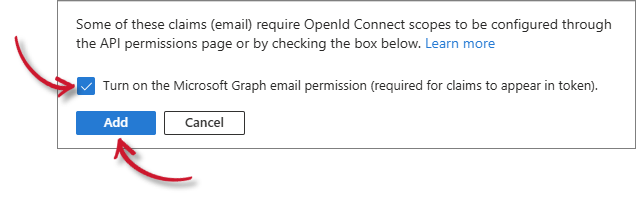 Microsoft Graph Email Permission Prompt