Managing Projects
Administrators must configure all the projects appropriately to ensure that the included users in the project will have the capability to launch specific applications.
Adding Projects
-
Click the drop-down beside the username, then select Projects.
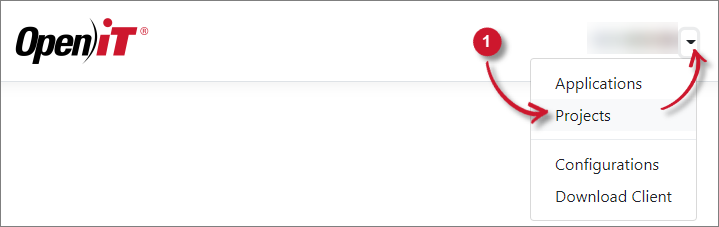 Projects Menu
-
Click Add.
 Add Project
-
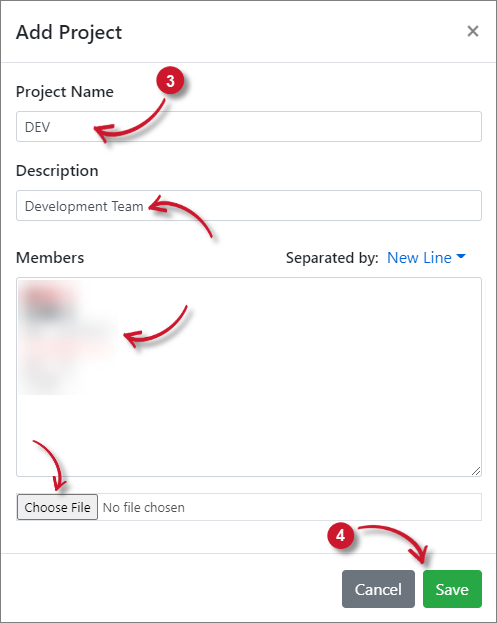
Provide the Project Name, Description, and Members of the project. Select the separator of the members' list (e.g., new line, semi-colon, or comma).
Or click Choose File for the list of members.
noteMake sure that the project has the complete list of members.
-
Click Save.
 Save Project
Importing Projects
-
Click the drop-down beside the username, then select Projects.
Projects Menu
-
Click Import.
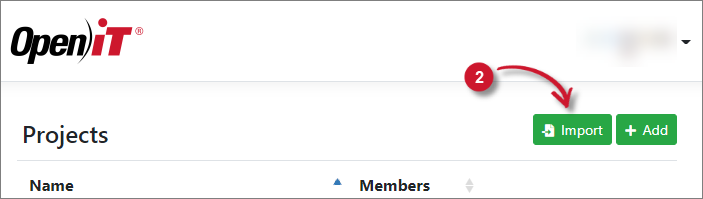 Importing Project
-
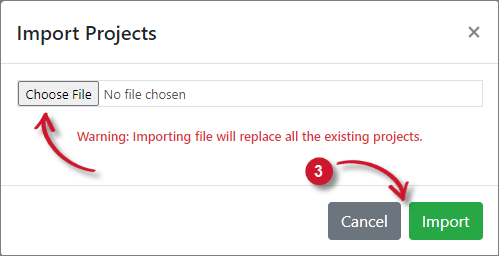
Click Choose File to browse for the file, then click Import.
 Import Project
noteImporting projects only accepts
.oconffiles
Editing Projects
-
Click the drop-down beside the username, then select Projects.
Projects Menu
-
Click the Edit icon of the target project.
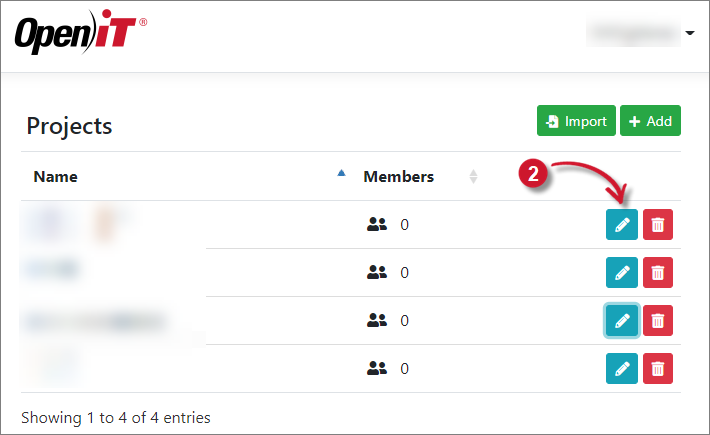 Editing Project
-
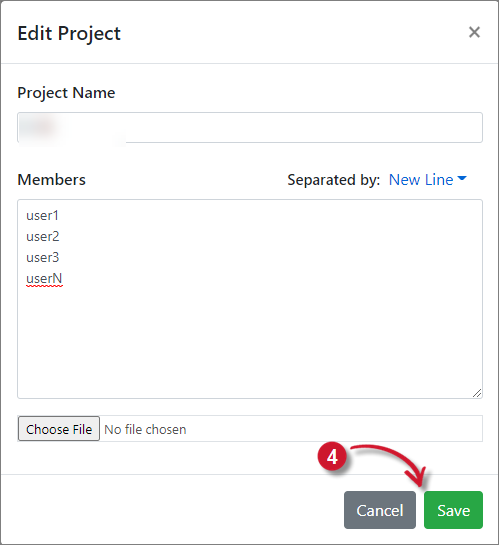
In Edit Project, update the necessary entries.
Click Choose File to import a list of members.
-
Click Save.
 Edit Project
Deleting Projects
-
Click the drop-down beside the username, then select Projects.
Projects Menu
-
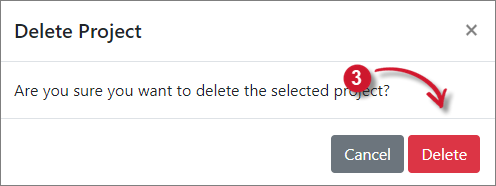
Click the Delete icon of the target project.
 Deleting Project
-
Click Delete.
 Delete Project