Managing Applications
Administrators must register all applications with their correct executable path and command arguments for the system to launch the applications smoothly.
Adding Single Applications
-
Click the drop-down beside the username, then select Applications.
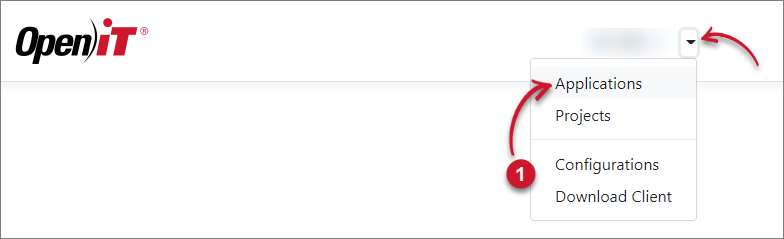 Applications Menu
-
Click Add.
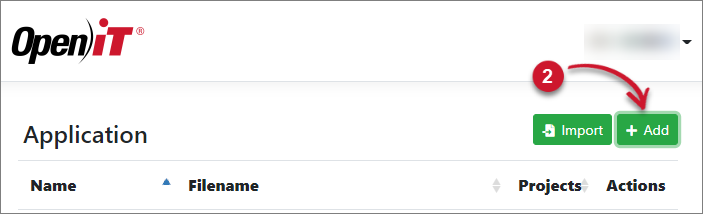 Add Application
-
Under the Single tab, provide the Application Name, Executable Path, Arguments, and Working Directory. Select Projects where the application belongs.
-
Click Save.
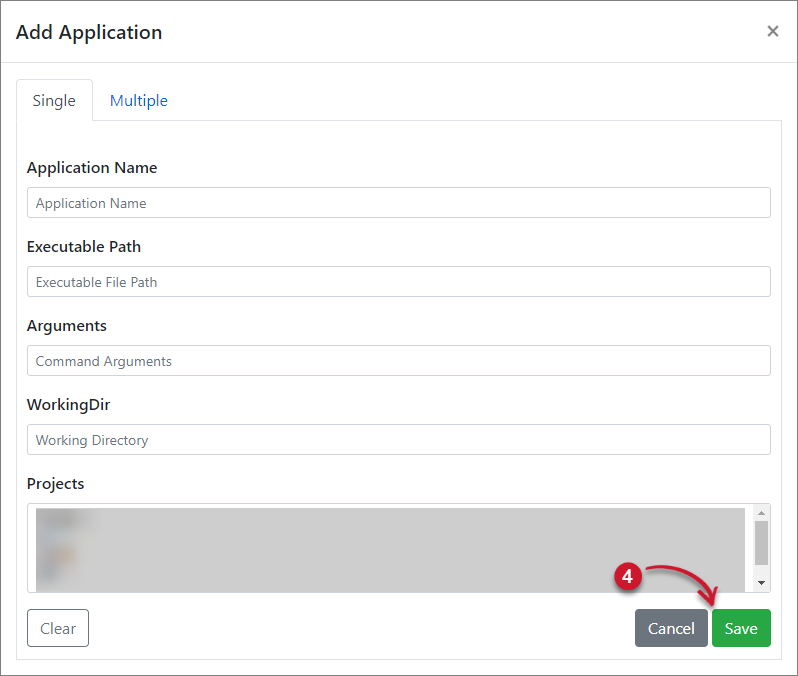 Save Single Application
Adding Multiple Applications
-
Click the drop-down beside the username, then select Applications.
Applications Menu
-
Click Add.
Add Application
-
Under the Multiple tab, provide the Application Name, Executable Path, Arguments, Working Directory, and Projects using | as delimiter. Add a new line for a new application to add.
-
Click Save.
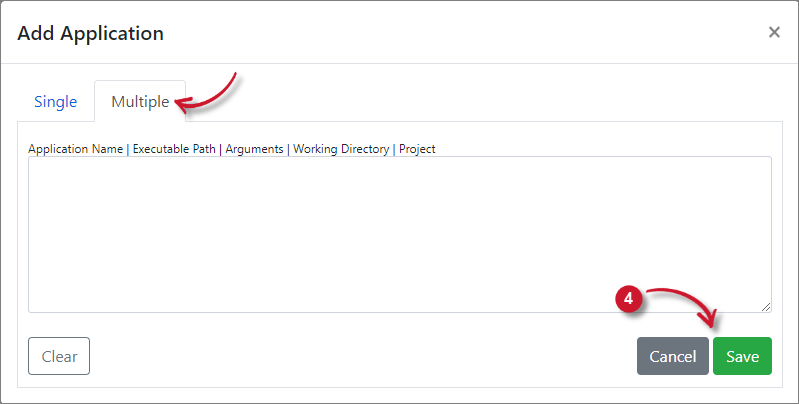 Save Multiple Application
Importing Applications
-
Click the drop-down beside the username, then select Applications.
Applications Menu
-
Click Import.
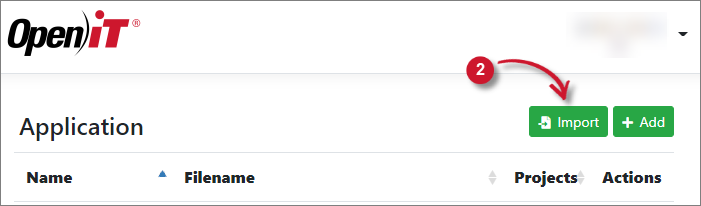 Importing Applications
-
Click Choose File to browse for the file, then click Import.
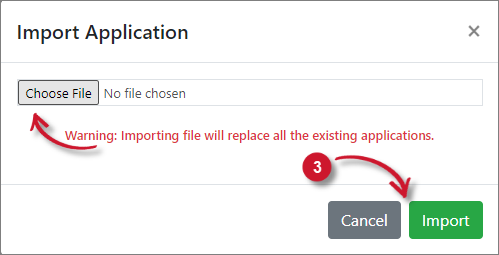 Import Applications
Importing applications only accepts .ini files.
Editing Applications
-
Click the drop-down beside the username, then select Applications.
Applications Menu
-
Click the Edit icon of the target application.
 Editing Applications
-
In Edit Application, update the necessary entries.
-
Click Save.
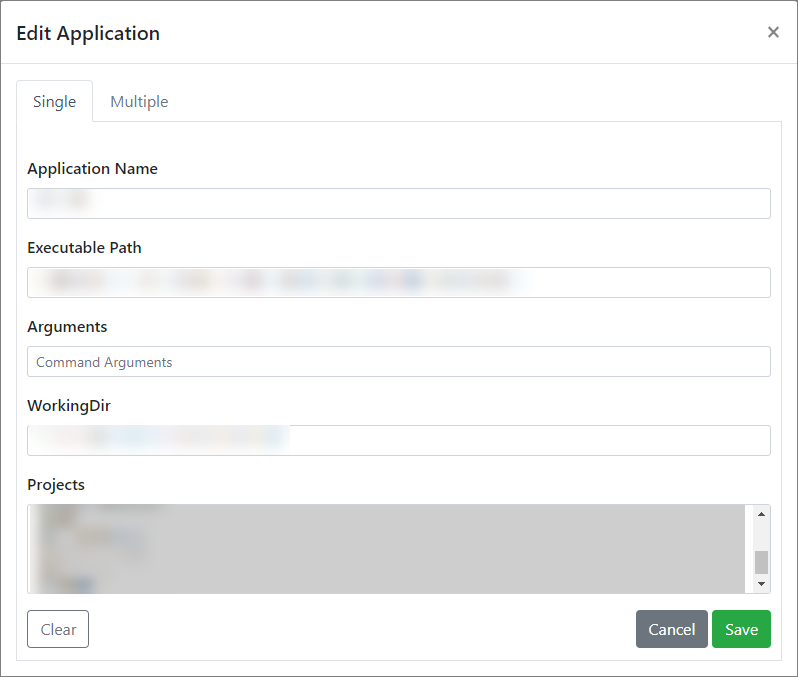 Edit Applications
Deleting Applications
-
Click the drop-down beside the username, then select Applications.
Applications Menu
-
Click the Delete icon of the target application.
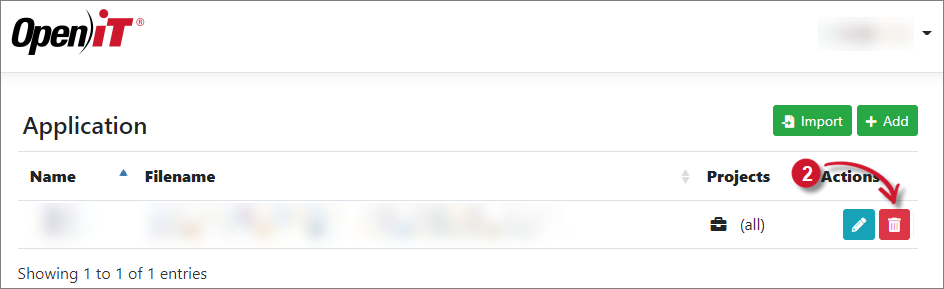 Deleting Applications
-
Click Delete.
 Delete Applications