We’re upgrading your documentation experience!
A new doc website is live at docs.openit.cloud — a temporary preview during our transition. This website is now in maintenance-only mode (only critical issues will be addressed).
Explore the new website and send us your feedback!
#
Installation
#
Installing through the Windows Installer Interface
Make sure that all the requirements are met before proceeding with the installation. Refer to the ServiceNow Adapter Requirements section.
Right-click the
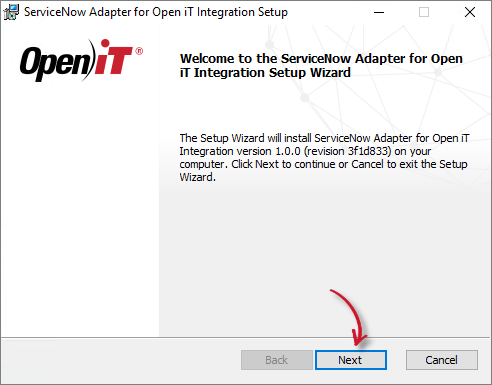
openit_servicenow_adapter_[version]_x64.msiinstaller file, then click Run as Administrator.Allow the app to make changes to the device to begin. A setup wizard will be displayed.
Click Next.
 ServiceNow Integration: Installation Wizard
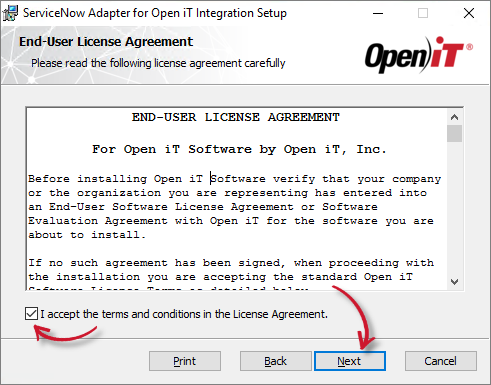
Read the License Agreement before accepting the terms, then click Next.
 ServiceNow Integration: Installation End-User License Agreement
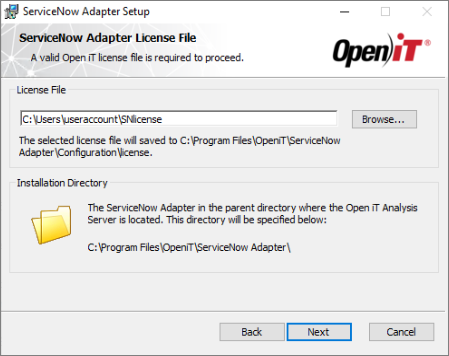
Specify the path to a valid Open iT license with SERVICENOW license key.
The Installation Directory is automatically set to install the adapter on the parent directory where the Analysis Server is because the adapter uses configurations from the Analysis Server.
 ServiceNow Integration: Installation License FIle
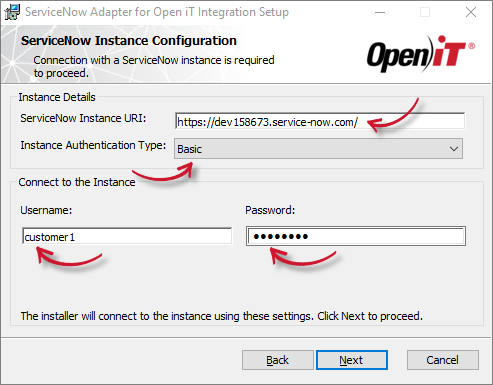
Specify a valid ServiceNow Instance URI. This is provided when deploying a ServiceNow Store Application.
Specify the Authentication Type that will be used to connect to the ServiceNow instance. There are three available options:
- Basic - requires a Username and Password to connect to the ServiceNow instance
 ServiceNow Integration: Installation ServiceNow Instance Configuration - Basic
- Bearer Token - requires a Bearer Token that will be used to authenticate the connection
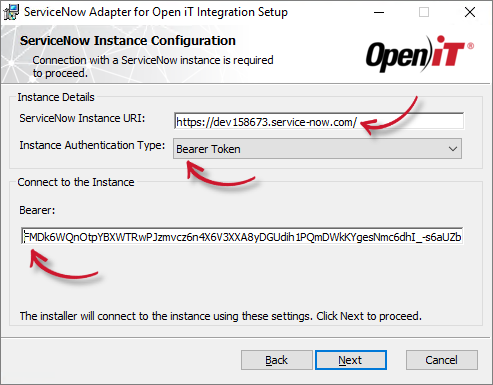 ServiceNow Integration: Installation ServiceNow Instance Configuration - Bearer Token
Refer to the How to Get the Access Token Credential from ServiceNow guide for the Bearer Token setup.
- OAuth2.0 - requires the following details to connect to the ServiceNow instance:
- Username and Password - valid credentials with specific role
- Client ID - the generated ID once an Application Registry is created in the ServiceNow instance
- Client Secret - an encrypted key which is generated once an Application Registry is created in the ServiceNow Instance
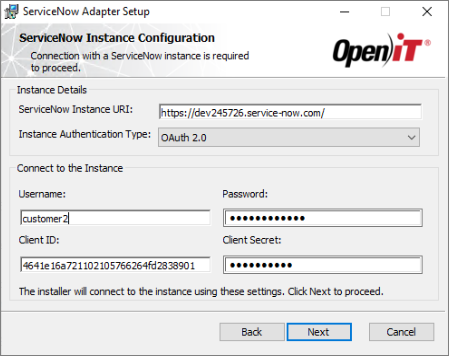 ServiceNow Integration: Installation ServiceNow Instance Configuration - OAuth 2.0
Refer to the Configuring Application Registry in ServiceNow Instance section to obtain the Client ID and Client Secret.
Click Next to test the connection to the ServiceNow instance using the provided authentication type and credentials.
- Basic - requires a Username and Password to connect to the ServiceNow instance
Click Install to start the installation process. If a review of the entries is needed, click Back.
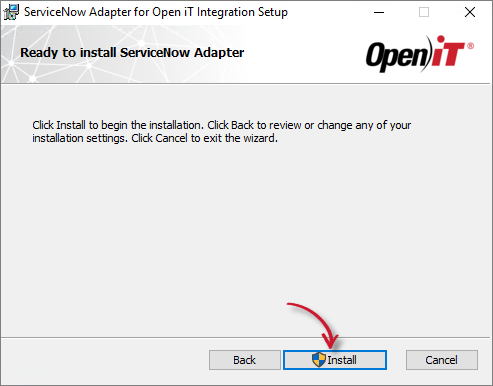 ServiceNow Integration: Ready to Install
The installer will set up all necessary files on the computer.
Click Finish to complete the installation.
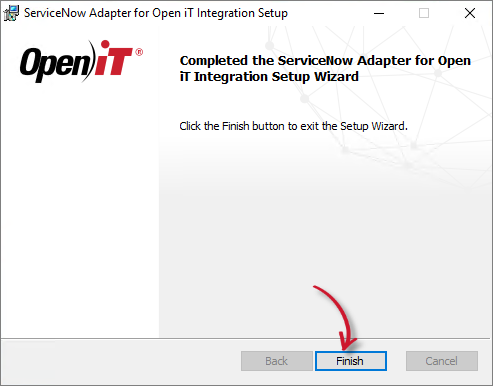 ServiceNow Integration: Installation Complete
Installation logs are located in %LOCALAPPDATA%\Temp\. The log files are named as MSI<random_chars>.log.
#
Installing through the Command Line
Open a command prompt with Administrator level privilege.
Execute the following command:
Command Syntaxmsiexec /i [msi_file] /l*v [log_file] [options] ADAPTERLICENSEFILE=[license_file] AUTHTYPE=[authtype] INSTANCEURI=[uri] INSTANCEUSERNAME=[username] INSTANCEPASSWORD=[password] INSTANCEBEARER=[token] CLIENTID=[clientid] CLIENTSECRET=[clientsecret]Required Parameters:
Installing through the Command Line: Required Parameters
Optional Parameters:
Installing through the Command Line: Optional Parameters
Required Properties:
Installing through the Command Line: Required Properties
Example (Basic)msiexec /i "openit_servicenow_adapter_1-0-602_x64.msi" /l*vx install.log ADAPTERLICENSEFILE="C:\Path\to\your\license" AUTHTYPE=Basic INSTANCEURI=https://your-servicenow-instance/ INSTANCEUSERNAME=username INSTANCEPASSWORD=passwordExample (OAuth2.0)msiexec /i "openit_servicenow_adapter_1-0-602_x64.msi" /l*vx install.log ADAPTERLICENSEFILE="C:\Path\to\your\license" AUTHTYPE=OAuth2 INSTANCEURI=https://your-servicenow-instance/ INSTANCEUSERNAME=username INSTANCEPASSWORD=password CLIENTID=clientid CLIENTSECRET=clientsecretExample (Bearer Token)msiexec /i "openit_servicenow_adapter_1-0-602_x64.msi" /l*vx install.log ADAPTERLICENSEFILE="C:\Path\to\your\license" AUTHTYPE=Bearer INSTANCEURI=https://your-servicenow-instance/ INSTANCEBEARER=tokenWhen using the passive mode, wait until the process bar dialog disappears. When using the quiet mode, verify if the installation is complete by opening the Task Manager and checking in the Details tab if the msiexec process is still running.