We’re upgrading your documentation experience!
A new doc website is live at docs.openit.cloud — a temporary preview during our transition. This website is now in maintenance-only mode (only critical issues will be addressed).
Explore the new website and send us your feedback!
#
Managing Projects
Administrators must configure all the projects appropriately, especially the included users, to ensure that the included users in the project will have the capability to launch specific applications.
#
Adding Projects
Click the drop-down beside the username, then select Projects.
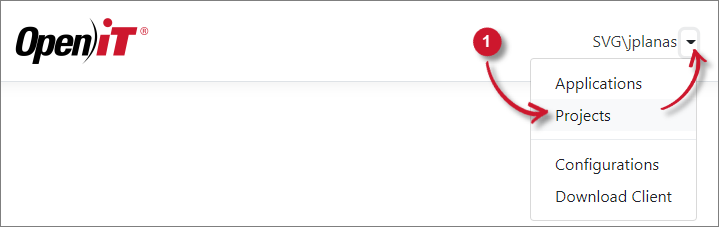 Projects Menu
Click Add.
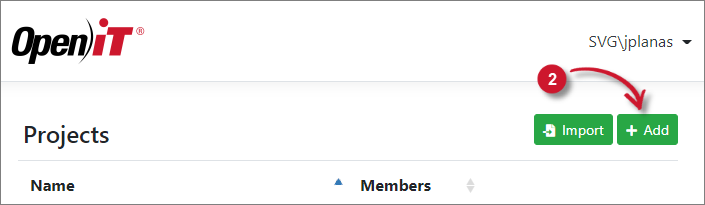 Add Project
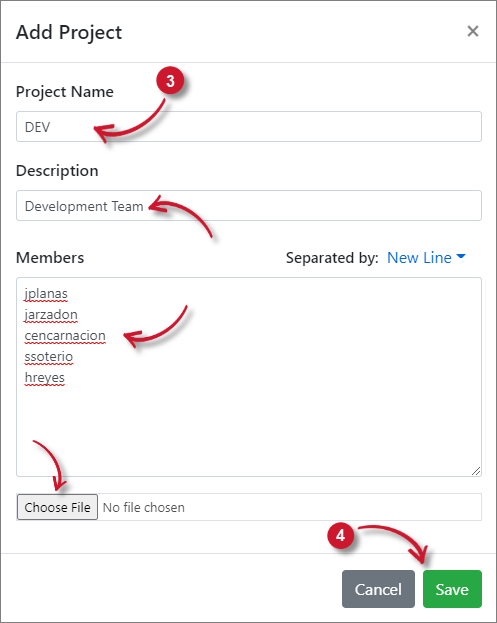
Provide the Project Name, Description, and Members of the project. Select the separator of the members' list (e.g., new line, semi-colon, or comma).
Or click Choose File for the list of members.
Make sure that the project has the complete list of members.
Click Save.
 Save Project
#
Importing Projects
Click the drop-down beside the username, then select Projects.
Projects Menu
Click Import.
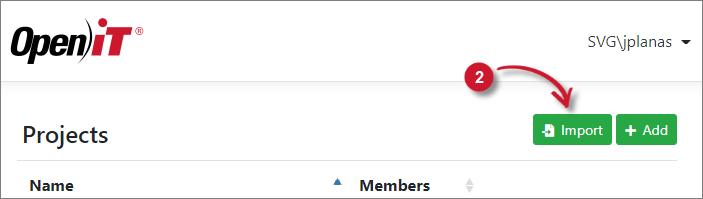 Importing Project
Click Choose File to browse for the file, then click Import.
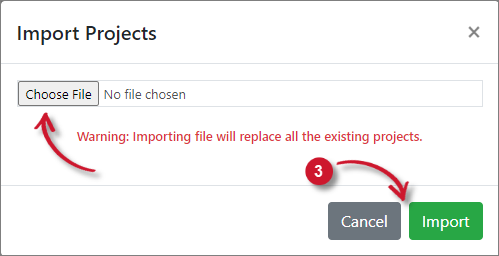 Import Project
Importing projects only accepts .oconf files
#
Editing Projects
Click the drop-down beside the username, then select Projects.
Projects Menu
Click the Edit icon of the target project.
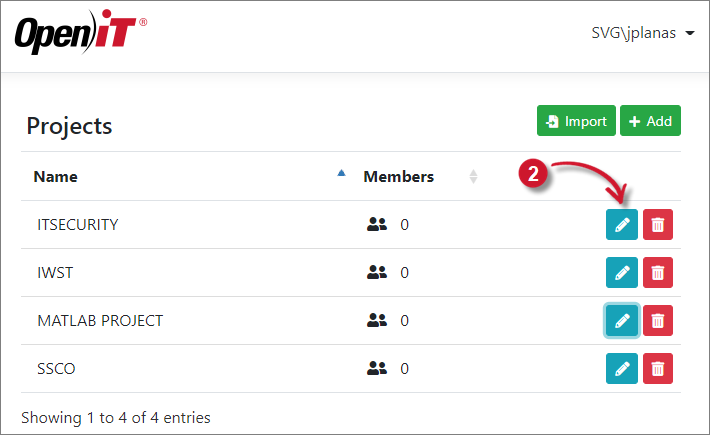 Editing Project
In Edit Project, update the necessary entries.
Click Choose File to import a list of members.
Click Save.
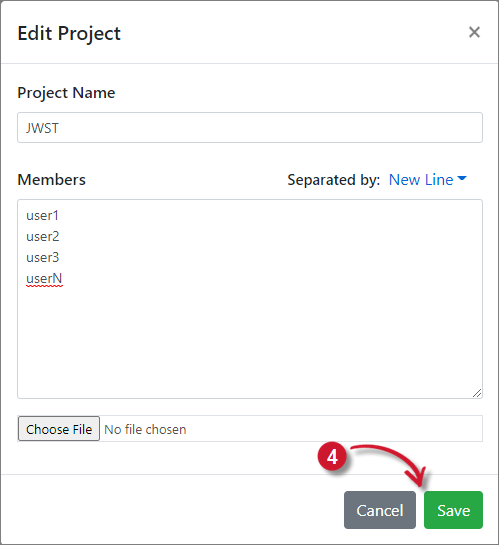 Edit Project
#
Deleting Projects
Click the drop-down beside the username, then select Projects.
Projects Menu
Click the Delete icon of the target project.
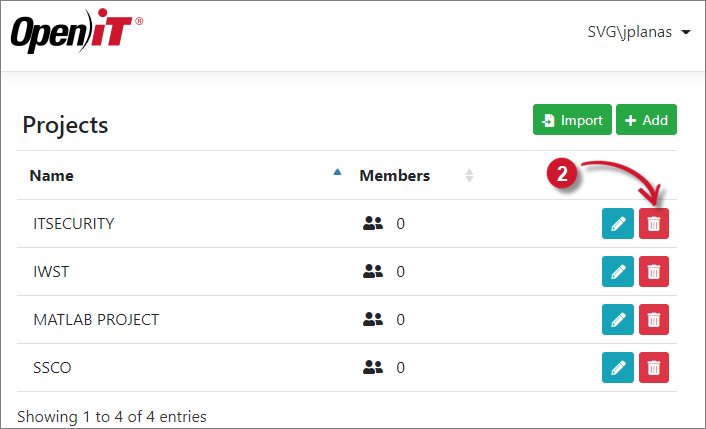 Deleting Project
Click Delete.
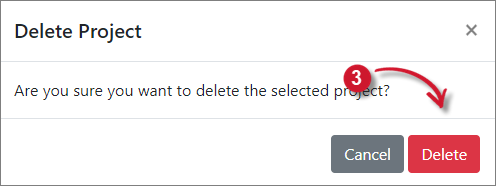 Delete Project