We’re upgrading your documentation experience!
A new doc website is live at docs.openit.cloud — a temporary preview during our transition. This website is now in maintenance-only mode (only critical issues will be addressed).
Explore the new website and send us your feedback!
#
Client Upgrade
#
Upgrading through the Windows Installer Interface
Double-click the installer file.
In the setup wizard, click Next.
 Welcome Screen
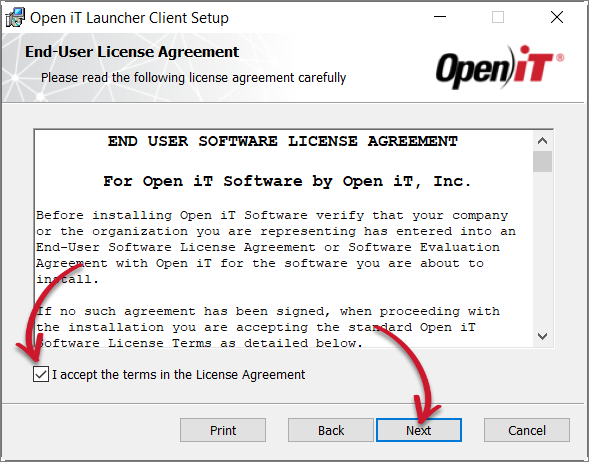
Read and accept the License Agreement, then click Next.
 End-User License Agreement
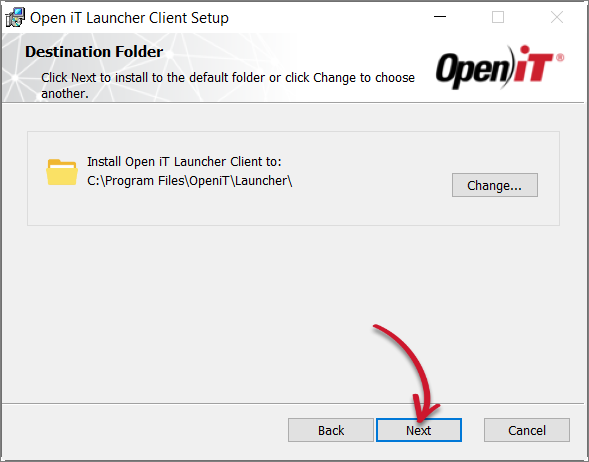
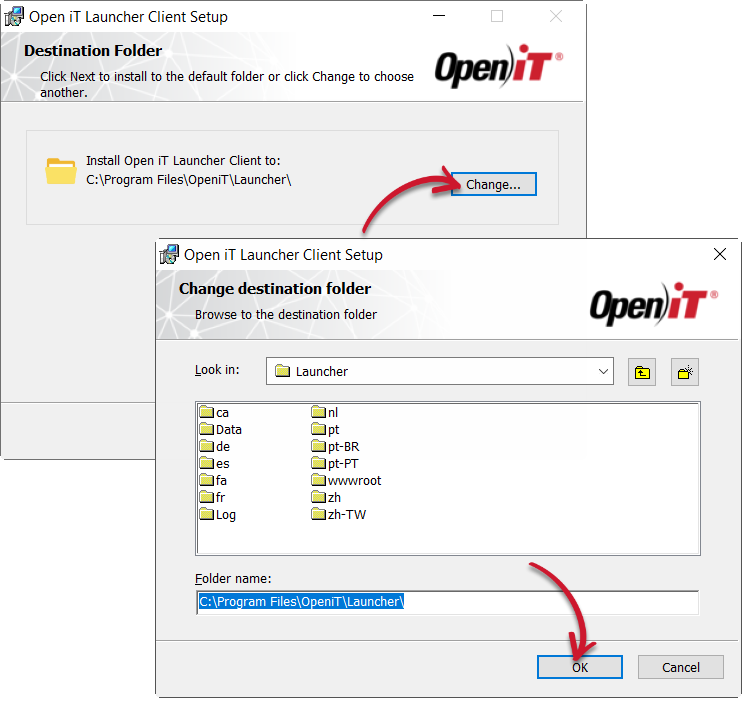
Specify the installation directory. Click Change to set a different directory or click Next to use the default folder.
 Destination Folder
 Changing the Destination Folder
Click Install to start the installation process.
Alternatively, click Back to review any installation setting.
 Ready to Install
The installer will set up all necessary files on the computer. Click Finish.
 Complete Installation
#
Next Step?
After upgrading, proceed with verifying the installation.
Verifying App Launcher Client Installation

