We’re upgrading your documentation experience!
A new doc website is live at docs.openit.cloud — a temporary preview during our transition. This website is now in maintenance-only mode (only critical issues will be addressed).
Explore the new website and send us your feedback!
#
General Settings
This tab contains the configuration options to set up the environment for the web interface.
Get the tip for each item in Settings by placing the mouse pointer on the question mark.
#
Updating the Open iT Server Page Title
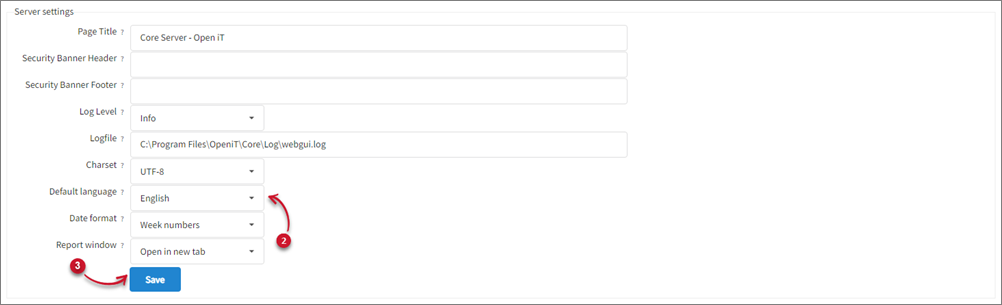
Go to Administration > Settings > General.
Under Server Settings, edit the text in the text box corresponding to Page Title.
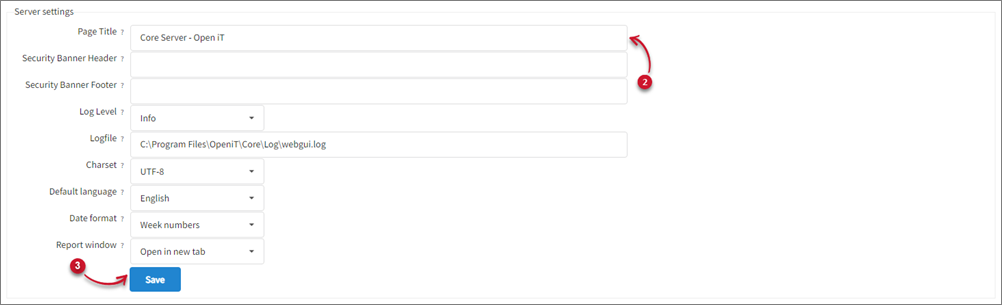
- Click Save.
#
Changing the Security Banner Header and Footer
The Core Server interface's floating security banner is a configurable text on top and bottom of each web page to assert ownership and rights, informing the user of the system and what expectation of privacy they should have. The text fields are empty or disabled by default.
Follow these steps to enable security banner statement as header and footer:
Go to Administration > Settings > General.
Under Server Settings, edit the text in the text box corresponding to Security Banner Header. Leave the field empty to turn it off.
Under Server Settings, edit the text box in line with the Security Banner Footer. Leave the field empty to turn it off.
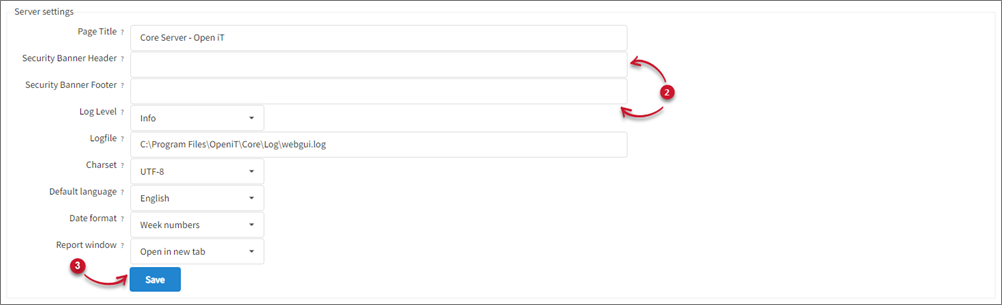
- Click Save.
#
Changing the GUI Log Level
Go to Administration > Settings > General.
Under Server Settings, select from the drop-down corresponding to the Log Level.
 Changing the Log Level
Log Levels
Click Save.
#
Specifying the GUI Log File
Follow these steps to specify the location where the logs from the GUI will be saved:
Go to Administration > Settings > General.
Under Server Settings, edit the text in the text box corresponding to Logfile. By default, the log will be in
$DEBUG_DIRas configured inopenit.cfg.
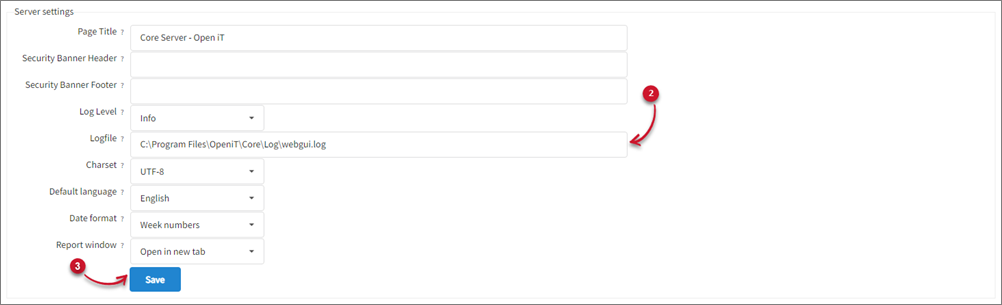
- Click Save.
#
Specifying the GUI Charset
Go to Administration > Settings > General.
Under Server Settings, select the suitable charset for the data files.
GUI Charsets
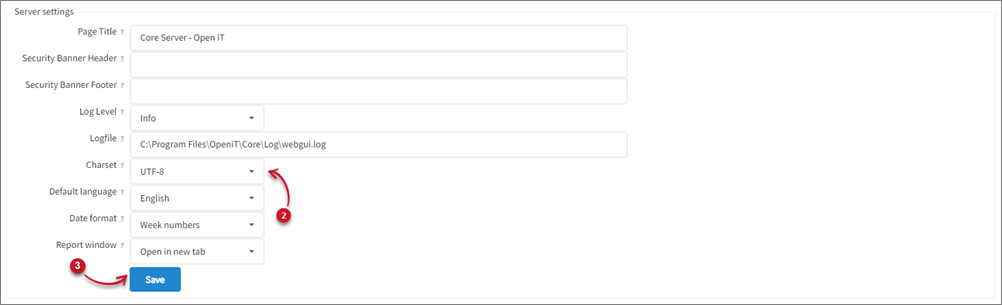
- Click Save.
#
Changing the Default GUI Language
Go to Administration > Settings > General.
Under Server Settings, select from the drop-down corresponding to Default Language.
- Click Save.
#
Changing the Date Format used on Generated Reports
Go to Administration > Settings > General.
Under Server Settings, select from the drop-down corresponding to Date format.
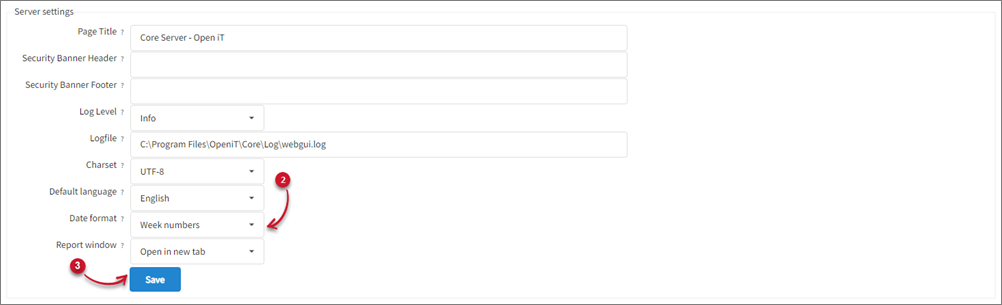
Week numbers - shows week numbers on reports; week numbers will only reflect on the report when the resolution is weekly; otherwise. it will show the selected resolution.
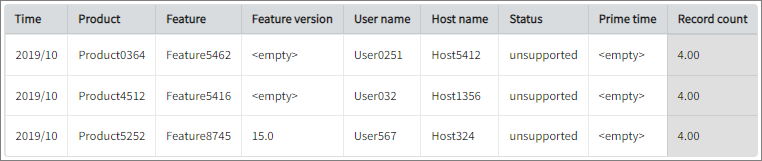 Filespace Report with Week Numbers Date Format
Date ranges - shows the date ranges on reports; date ranges will only reflect on the report when the resolution is weekly; otherwise, it will show the selected resolution.
 Filespace Report with Date Ranges Date Format
- Click Save.
#
Changing the Report Window Settings
Follow these steps to update how the generated reports will be displayed in Complete Selection:
Go to Administration > Settings > General.
Under Server Settings, select from the drop-down corresponding to Report Window.
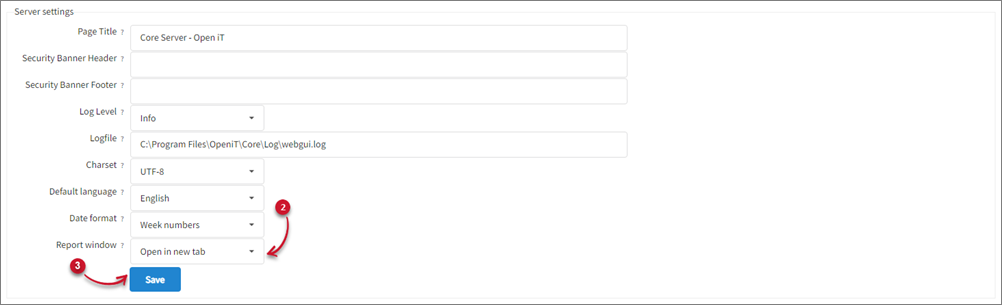
- Click Save.
#
Refreshing the Database
Go to Administration > Settings > General.
Click Execute.

- Click OK on the prompt then wait for the confirmation that the process is done.
#
Configuring LDAPS Settings

Go to Administration > Settings > General.
Under LDAPS Settings, choose the verify option. It could be none, optional, or require.
Set the location of the certification authority file for verifying the connectivity to the LDAPS server.
Click Save.