We’re upgrading your documentation experience!
A new doc website is live at docs.openit.cloud — a temporary preview during our transition. This website is now in maintenance-only mode (only critical issues will be addressed).
Explore the new website and send us your feedback!
#
Groups
The Groups tab lists all existing groups and allows the administrator to create groups, modify group details, and delete groups. This also includes instructions on how to assign groups to users.
#
Creating a Group
Go to Administration > Groups.
Click New Group on the upper-right corner of the page.

- Provide the name and description for the group.
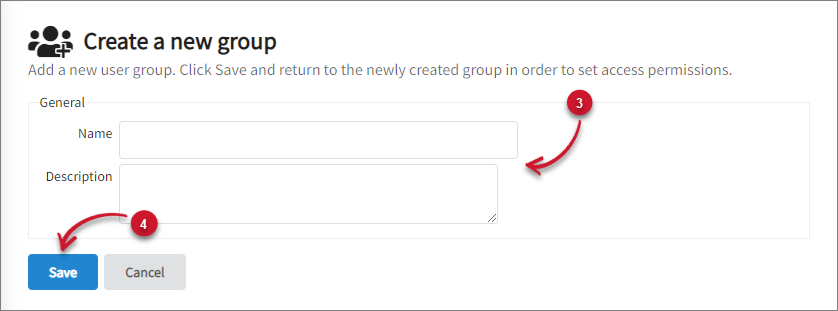
- Click Save.
#
Modifying a Group
Go to Administration > Groups.
Click the name of the group to modify.
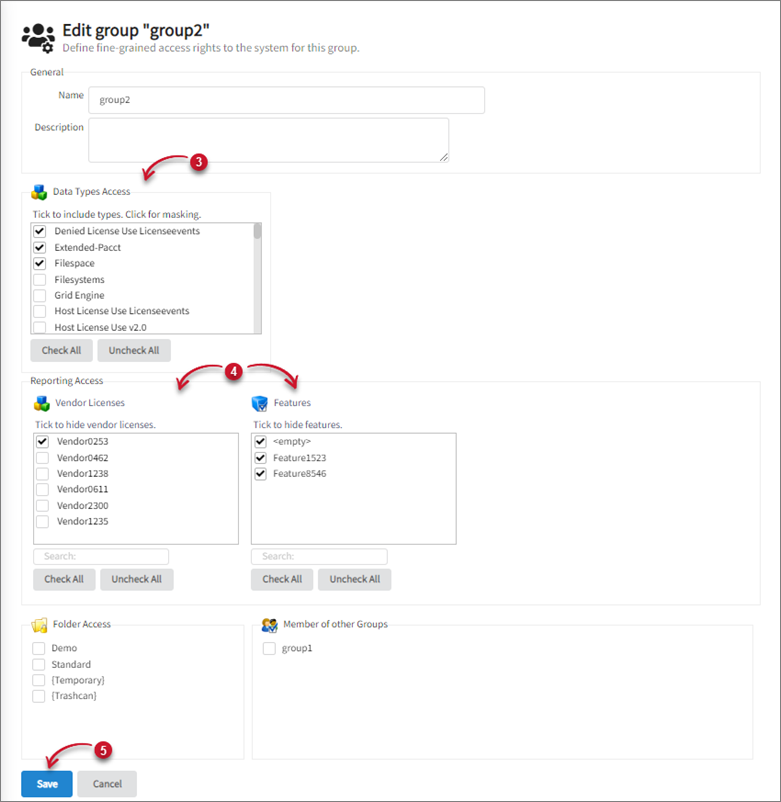
Make the necessary changes to the group.
Tick on the Data Types Access to include, select Vendor Licenses, Features, and Folders that the group can access, and choose if the group will be a member of other group(s).
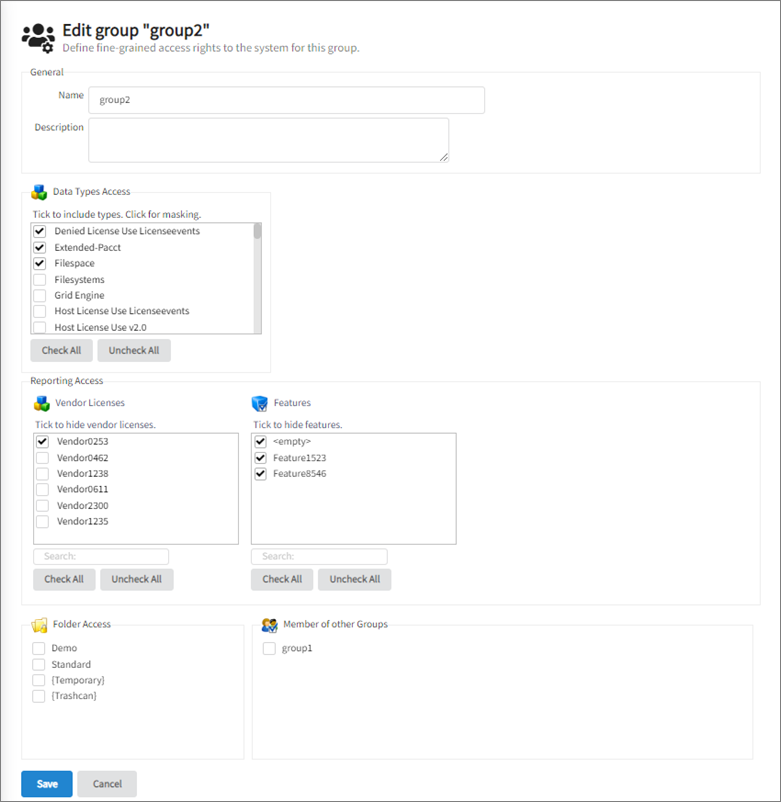
Click Save.
Any of the changes done in the Vendor Licenses and Features Reporting Access will be automatically saved despite clicking Cancel.
#
Assigning Groups to Users
When assigning more than one group to a user, the privileges of both groups get summed up and assigned.
When a user is not an admin user and not in any group, the user will be unable to use the GUI. An admin user has all privileges. When a user is not an admin user but assigned with one or more groups, then the user has only the privileges for members of those groups.
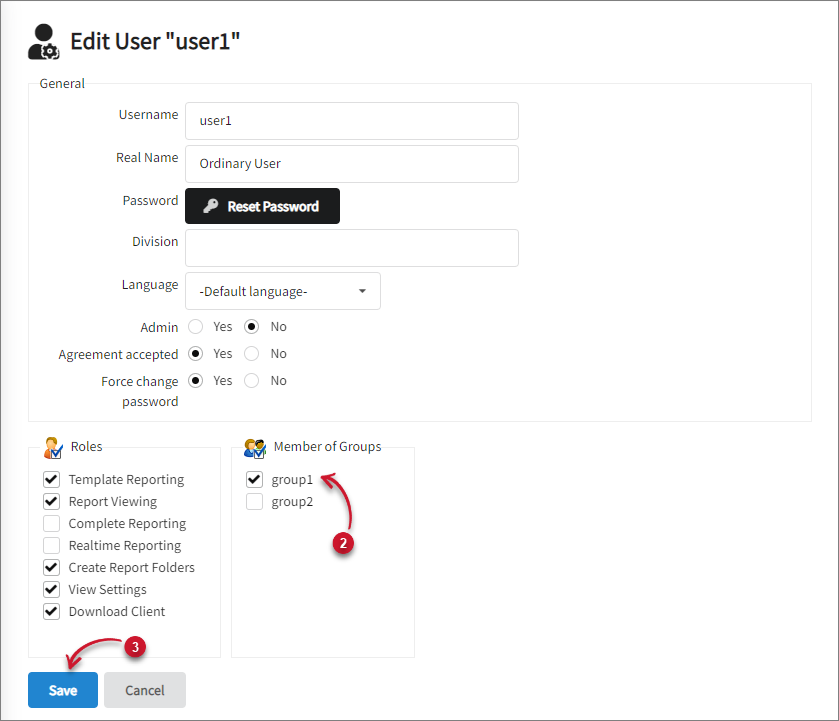
Go to Administration > Users.
Under the Members of Groups, tick the checkbox of the group(s) where the user will belong.
Click Save.
#
Hiding Vendor Licenses and Features from Groups
Admin users may also choose which vendor licenses and features a group can use when creating a report. This feature is useful in organizing access of user groups. To hide vendor licenses from groups:
Go to Administration > Groups.
Select the group to edit.
Tick the data type(s).
Tick the vendor license(s) to hide from this group, then select the feature(s). Use the search box below the vendor licenses and features to easily filter the preferred vendor licenses or features. Only the listed items can be ticked while the search box is in use, all other items are unchanged.
Click Save.
#
Removing a Group
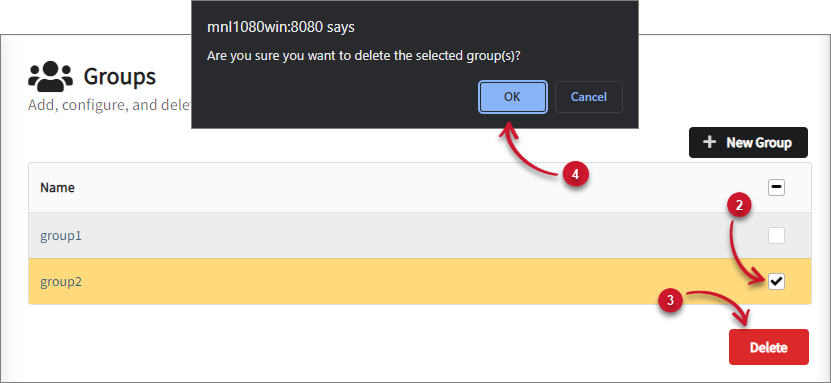
Go to Administration > Groups.
Tick the checkbox corresponding the group(s) to remove or tick the checkbox on the top row to select all.
Click Delete.
Click OK on the pop-up.