We’re upgrading your documentation experience!
A new doc website is live at docs.openit.cloud — a temporary preview during our transition. This website is now in maintenance-only mode (only critical issues will be addressed).
Explore the new website and send us your feedback!
This page is intentionally hidden from navigation but remains accessible via direct link. It is retained for internal reference purposes only and may contain outdated or transitional content.
#
Configuring HTTPS in Core Server
#
Configuring Site Bindings
Open the File Explorer and navigate to the
C:\Program Files\OpeniT\Core\Configuration\httpd\Caddyfiles\settingsfolder.Right-click on the
site-bindings.caddyfile.Select Open with and choose a text editor of your choice (e.g., Notepad, Sublime Text, etc.).
Update the (site-bindings) block using the syntax:
import <type>.template "<host>" "<port>"- Name | Description
-
--- | :---
type| The type of connection, either http or https.host| The host name of the machine.port| The TCP/IP port number used by the reporter website.Site Bindings Parameters
Exampleimport http.template "samplehost" "8080"
To add site bindings with automatic certificate creation, add auto- before the type.
Exampleimport auto-https.template "server1.cloud.com" "443"Save the changes.
Navigate to the
/var/opt/openit/httpd/Caddyfiles/settingsdirectory.Edit
site-bindings.caddyfile.Update the (site-bindings) block using the syntax:
import <type>.template "<host>" "<port>"- Name | Description
-
--- | :---
type| The type of connection, either http or https.host| The host name of the machine.port| The TCP/IP port number used by the reporter website.Site Bindings Parameters
Exampleimport http.template "samplehost" "8080"
To add site bindings with automatic certificate creation, add auto- before the type.
Exampleimport auto-https.template "server1.cloud.com" "443"Save the changes.
#
Configuring HTTPS with SSL Certificate and Key Extracted from PFX Certificate
The Open iT Core Server can use secure browsing(HTTPS) using either an SSL certificate and SSL key or a reverse proxy.
This section provides steps on extracting and using SSL certificate(.crt) and SSL key(.key) for secure browsing in case only a .pfx certificate is available.
Open a command prompt with Administrator level privileges.
Go to the directory where the
.pfxcertificate is (e.g.,C:\Users\openit\Documents\openit_pfx).Extract the private
.keyfile from the certificate using openssl by running the following:"C:\Program Files\OpeniT\Core\External\Apache\bin\openssl.exe" pkcs12 -in <pfx_cert_path_and_filename> -nocerts -out <output_file>Where:
<pfx_cert_path_and_filename> is the path to the
.pfxcertificate.<output_file> will be the name of the private
.keyfile.
Example"C:\Program Files\OpeniT\Core\External\Apache\bin\openssl.exe" pkcs12 -in certificate.pfx -nocerts -out private.keyWhen prompted for the import password, type the password used to protect the keypair when the
.pfxfile is created. Provide a new password to protect the.keyfile being created. Store the password of the key file in a secure place to avoid misuse.Extract the .
crtfile from the certificate using openssl by running the following:"C:\Program Files\OpeniT\Core\External\Apache\bin\openssl.exe" pkcs12 -in <pfx_cert_path_and_filename> -clcerts -nokeys -out <output_file>Where:
<pfx_cert_path_and_filename> is the path to the
.pfxcertificate.<output_file> will be the name of the
.crtfile.
Example"C:\Program Files\OpeniT\Core\External\Apache\bin\openssl.exe" pkcs12 -in certificate.pfx -clcerts -nokeys -out server.crtDecrypt the generated private key by running the following:
"C:\Program Files\OpeniT\Core\External\Apache\bin\openssl.exe" rsa -in <private_key_file> -out <output_file>Where:
<private_key_file> is the path to generated private
.key.<output_file> will be the name of the
.keyfile.
Example"C:\Program Files\OpeniT\Core\External\Apache\bin\openssl.exe" rsa -in private.key -out server.keyGo to the directory where the
.pfxcertificate is and verify that the.crtand.keyfiles are created.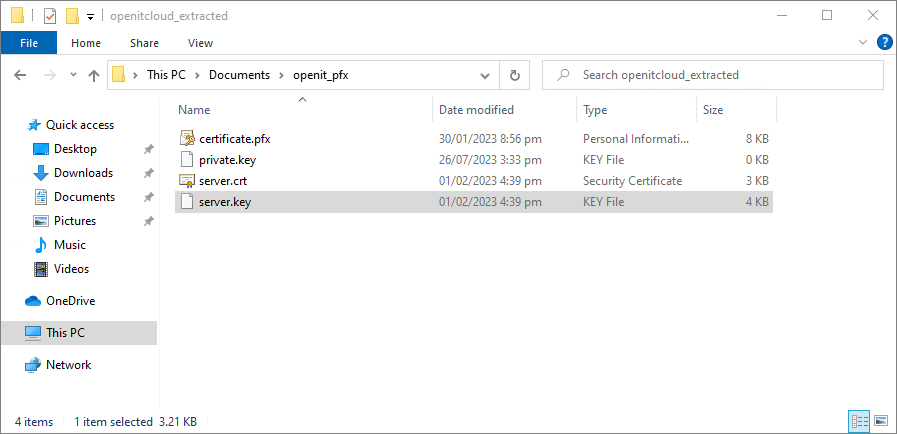 Generated Certificates
Copy
server.crttoC:\Program Files\OpeniT\Core\Configuration\httpd\ssl.crt. Copy Certificate
Copy
server.keytoC:\Program Files\OpeniT\Core\Configuration\httpd\ssl.key.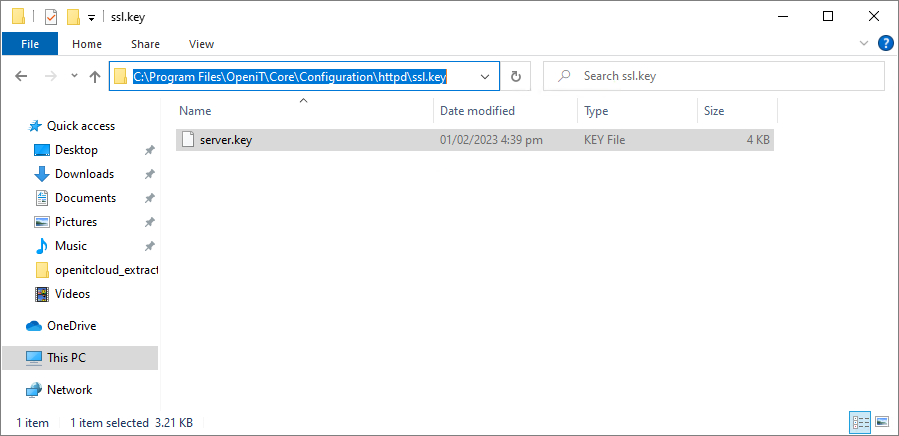 Copy Decrypted Key
Restart the OpeniTReverseProxy service.
#
Configuring HTTPS using Let's Encrypt
This section provides steps for using Let's Encrypt to enable secure browsing.
Go to
C:\Program Files\OpeniT\Core\Configuration\httpd\Caddyfiles\settingsand openauto-https.templatein a text editor.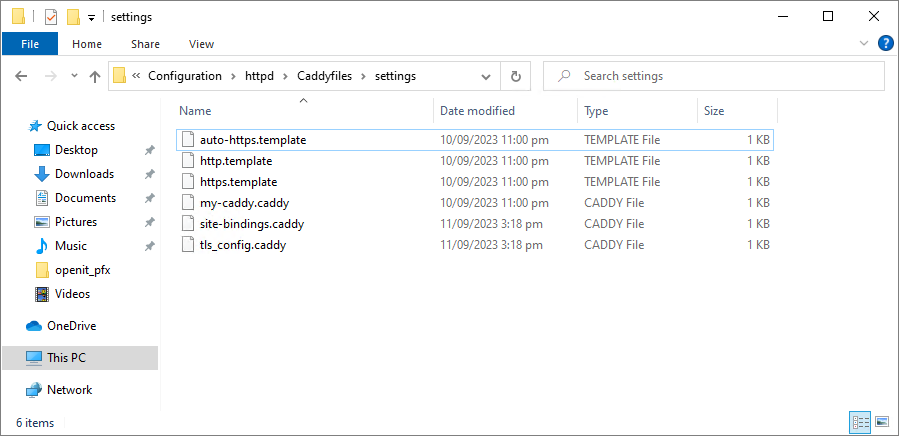 https.template file
Provide the Core Server URL and port on line 1.
auto-https.template1|https://{args.0}:{args.1} { 2| import main 3|}Example1|https://customer.domain.com:443 { 2| import main 3|}Save the changes.
Restart the OpeniTReverseProxy service.
#
Next Steps?
After configuring HTTPS, the following steps are recommended but not required.